
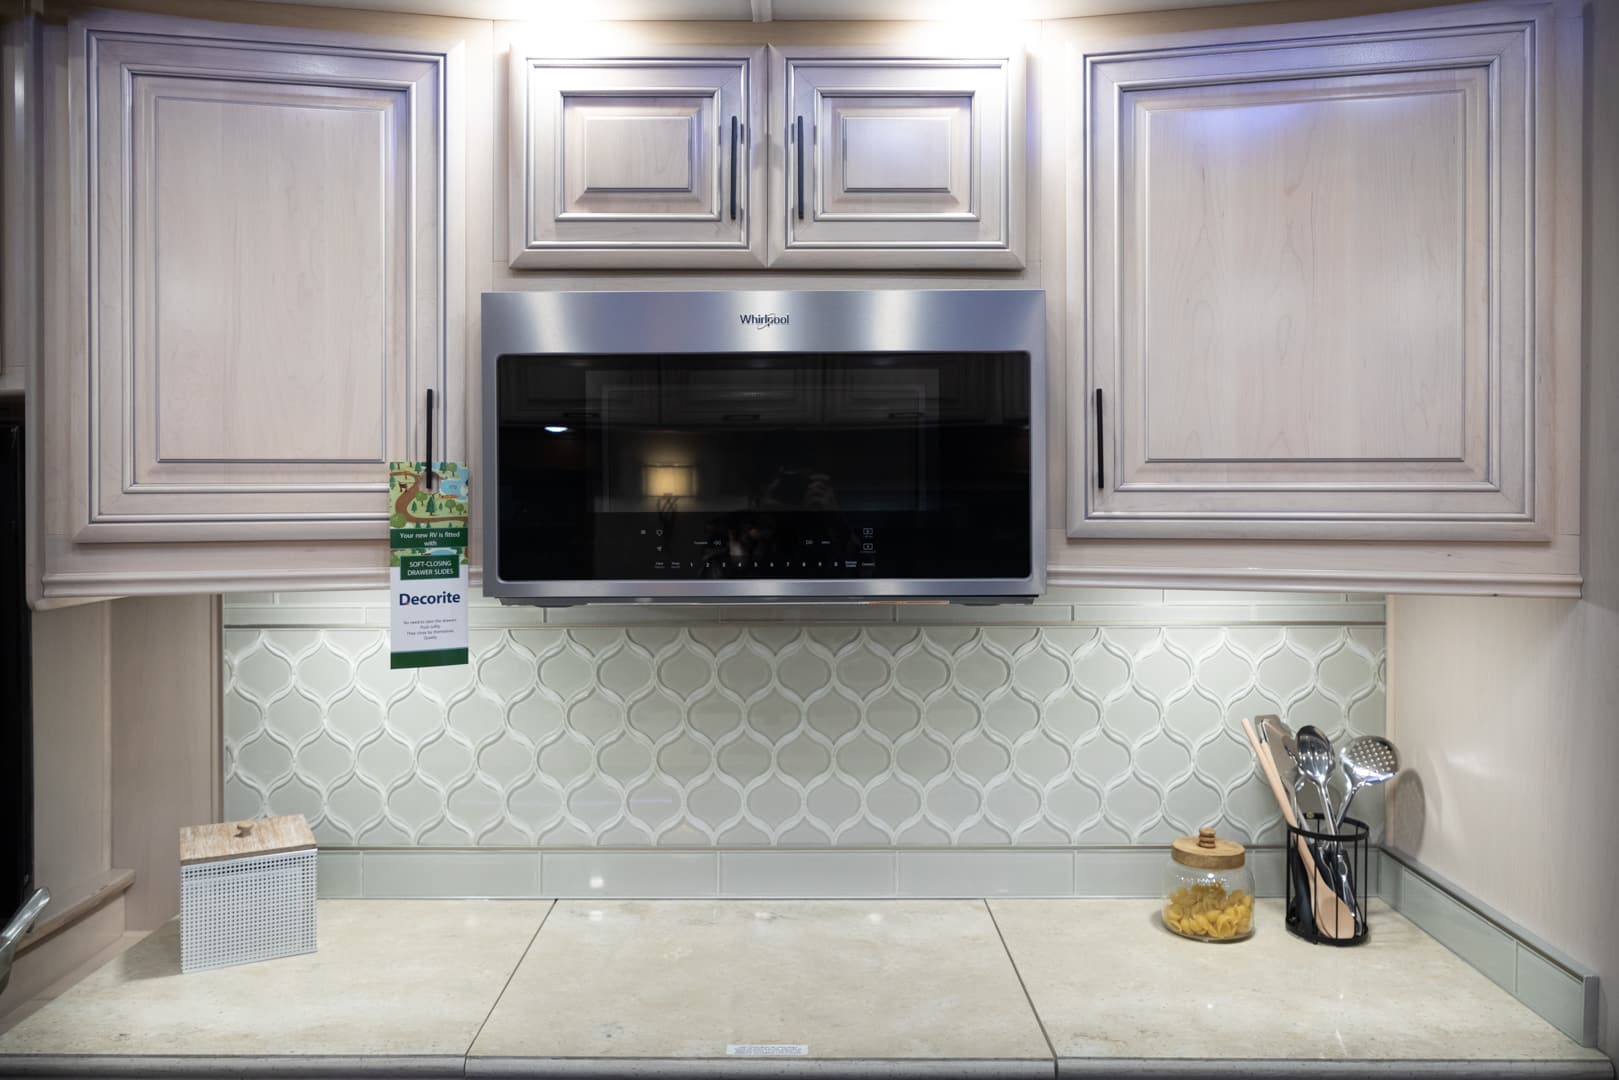
Adding a new coat of paint to even a small portion of your RV can go a long way. Painting the inside of your RV can make it feel more like home and brighten up the space.
While the idea of repainting all of the interior walls of your RV may sound exhausting and terrifying, painting the cabinets might sound a little bit more manageable. And guess what, it is! If you are looking to freshen up your home on wheels by repainting cabinets in the kitchen, living area, bathroom, or all of the above, here are some simple steps to follow:
Remove Doors, Drawers, and Hardware
Before any painting begins, remove all cabinet doors, drawers, and hardware such as hinges. These items are easier to paint properly when not in and/or attached to your cabinets and will make the painting of the actual cabinets a lot easier.
Consider relocating doors and cabinets to a large space such as a garage where you’ll be able to set up your painting workshop and knock that part of the job. Ideally, you’ll have space where all cabinets and drawers can be laid out and worked on simultaneously but if not, work in batches or one at a time.
Make sure you have a flat place to keep cabinets doors while you are working on them. Painter’s triangles on a garage floor or multiple sawhorses are an idea. Also, make sure you label any pieces that come off your cabinets. This includes all doors and hardware. This will make life much easier when the job is done!
Preparation
Proper preparation before you starting painting is key to a job well done. First, you’ll want to make make sure all cabinets, doors, and drawers are clean.
Using something like Krud Kutter is a great way to remove dirt and grease. The next step in preparing your cabinets for paint is sanding. A thorough sanding will remove any old gloss, giving your new paint and primer something to stick to. An electric sander will get the job done quickly.
The last step in preparing your RV cabinets for paint is primer. You may think a good sanding will allow you to skip priming, but again, proper preparation is the best way to get the results you are looking for!
Painting
It’s finally time to paint. To avoid brush strokes, use a roller when possible on the doors, drawers, and cabinet frames. If you have access to a paint spray gun, even better!
A small brush might be needed for any molding on cabinet doors our around the frames. Avoid using too much paint as that can cause drips. After the first coat is done, wait, then follow the manufacturer’s directions on the paint can.
Generally, at least two coasts with a sanding in between will be needed. No matter what, don’t rush the process. Let the paint sit for more than enough time between coats.
Finishing Up
Once your final coat has had time cure, you can start putting your masterpiece back together again. Curing usually takes several days, so again, don’t rush the process!
Once you are sure all paint is hard, reapply hardware and consider using felt pads on cabinet doors to avoid banging and chipping paint. Now take a moment to step back, take it all in, and touch up any places that need some extra attention.
While the process of painting your RV cabinets may seem tedious and complicated, the end result is well worth the time and work you put in. While you’re at it, pick up some new hardware to make your RV cabinets, even more, your own, unique style.
You will feel so happy and proud every time you step foot in your RV and see how your hard work completely changed the look and feel of your space.
Do you have anything you think should be added? Leave a comment below!
